
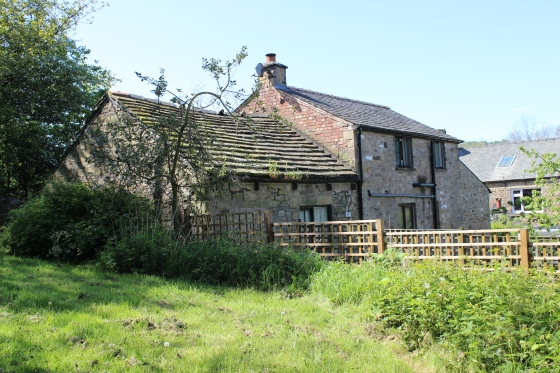
A drawing of the Wharf building in it's early years. The top story was removed in the early 20th century.
(THE GOYT VALLEY)
From a walk on Saturday 17th May 2014) (Update June 2014)
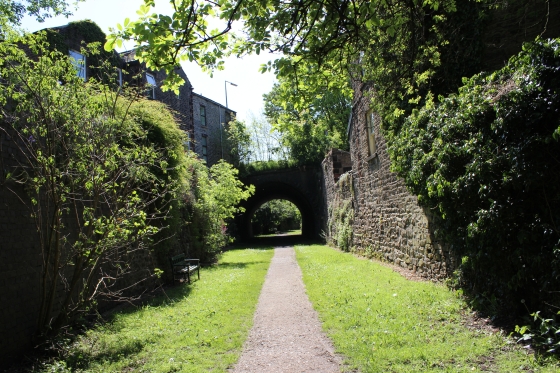
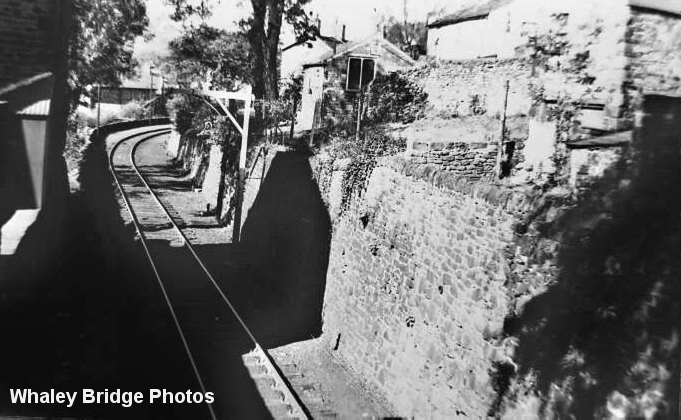
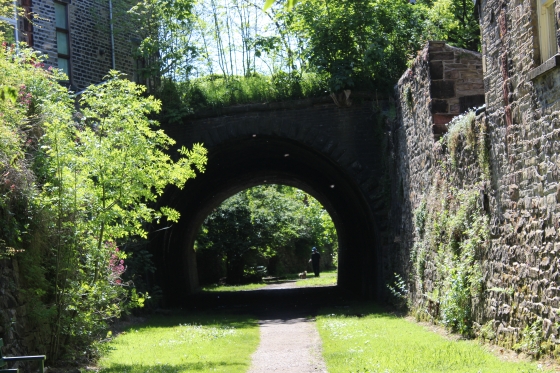
Whaley Bridge To Shallcross Incline
The northern end of the Cromford & High Peak Railway from Downlow to Whaley Bridge was abandond way back in the 1890's. A new standard mainline was built from Downlow
directly north to Buxton and is still in operation today carrying stone from the numerous quarries. The only other part of the northern section between Buxton Midland station and
Shallcross Goods Yard on the C&HPR lasted until the mid 60's and closed under the Dr. Beeching closure scheme.
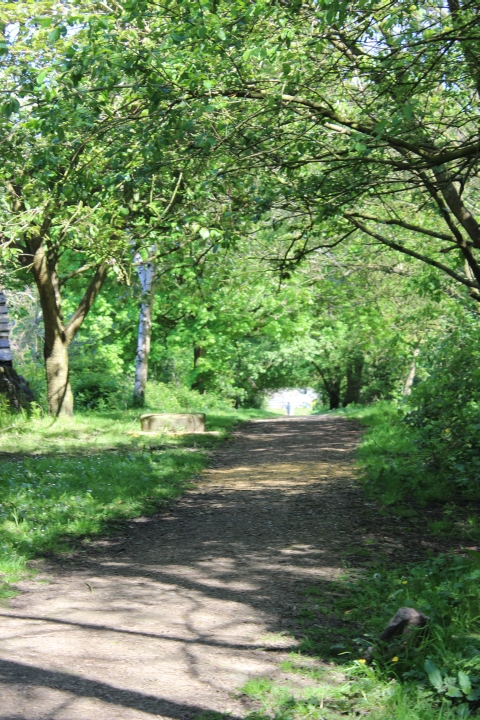
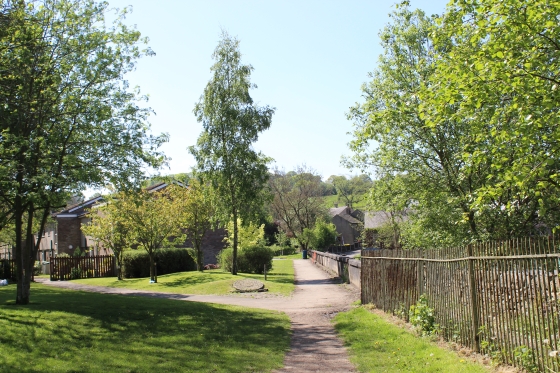
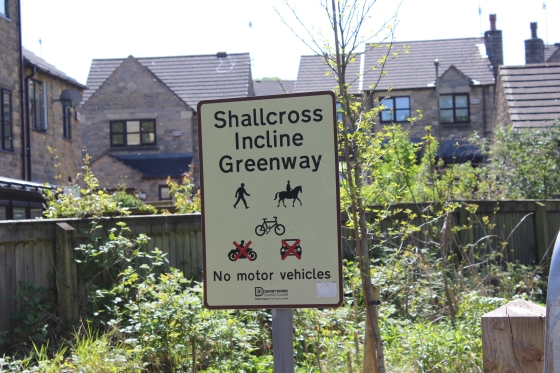
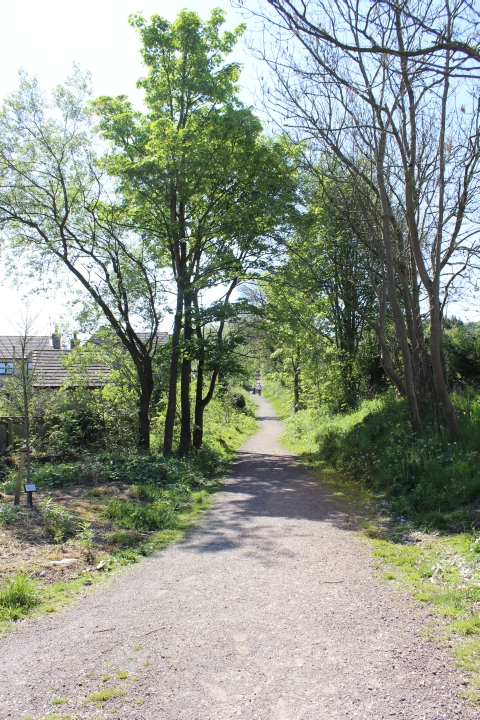
There is still a lot to be seen of the remains of the northern section to see and much of it s walkable. The easiest sections are between Whaley Bridge Basin to Shallcross Top, which has
been made into a walking, cycling and Horse-riding trail. You can follow the track bed south of Shallcross to the outskirts of Fernilee. From Fernilee, by the Shady Oak Inn, you have
to walk the main road for a mile and more and take a 'C' road down (on the right) down to the the northern end of Fernilee Reservoir. The railway ran below the main road from Fernilee
and that end has been back-filled and is part of a Camping site, while from the south side of the road to the reservoir is all private land.
The track bed runs down the whole length of the resevoir, which is a fair walk but is easy to walk and has sets every so far on the way. The Bunsell inclines start at the end of the resevoir
and consist of two 1 in 7 inclines. The firs, short, incline is impassable but the road continues steeply up the side to meet the road for Errwood Reservoir.You turn northwards around the
bend to the base of the second incline. At this spot there is a toilet block available.
The second incline is now a 'C' road for the Fernilee and Errwood Reservoirs. It is a long steep walk up to the top, where you meet the gate that takes you onto the track bed for continuing
on to the northern entrance of Burbage Tunnel. Which is as far as you can go as it is blocked up.
To continue southwards to get to the south tunnel entrance and to Ladmanlow you have to walk over the moor, above the tunnel. The track bed south from the tunnel mouth is again private
land and you take a path way down to the farm road and walk up that road to the farm and get back on the track bed that takes you to down to the Old Macclesfield Road at Burbage. On this
particular walk I went no further than the Bunsell Incline. The Tunnel section to Burbage is for another time.
The early Wharf was three-storied. Around 1905 it was reduced to what it is today.
A drawing of the Wharf building in it's early years. The top story was removed in the early 20th century.
![]()
![]()
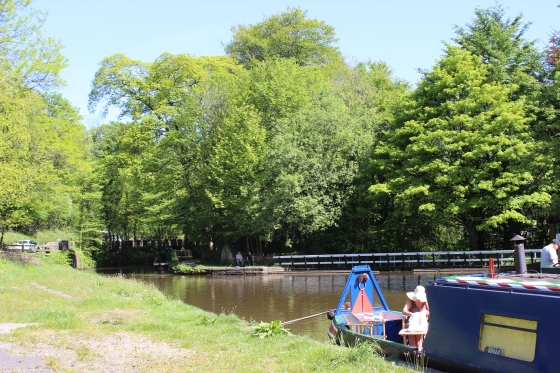
A lady relaxes in the sunshine, while behind people board the ferry barge for a gentle cruise up the canal to
Bugsworth Basin.
![]()
![]()
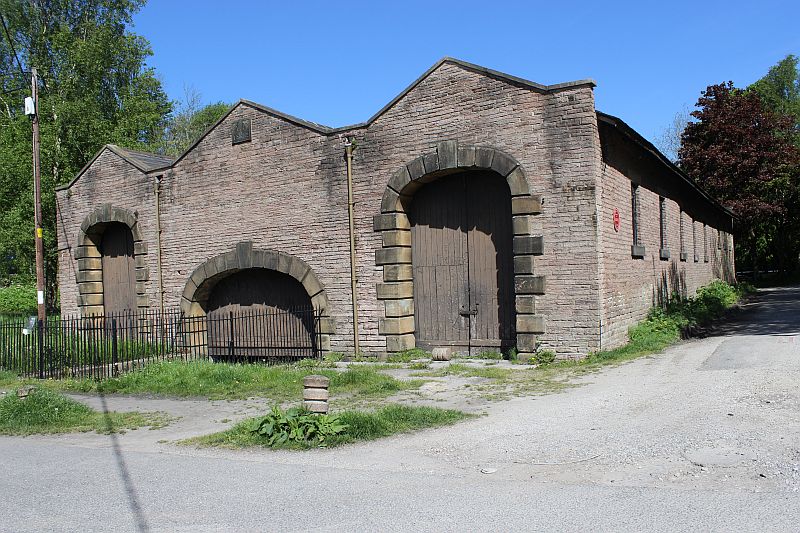
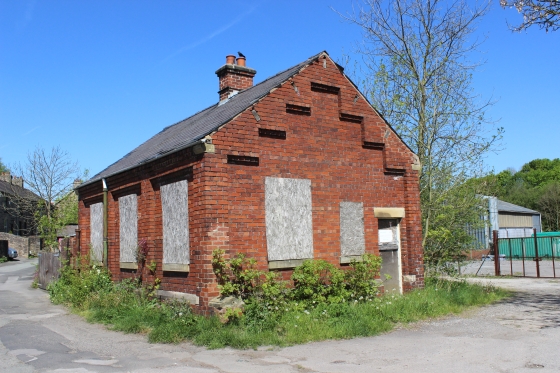
The western side of the wharf building.
![]()
![]()
Left: The left hand door had a single track running too and from the was the railway link too and from the print works.
![]()
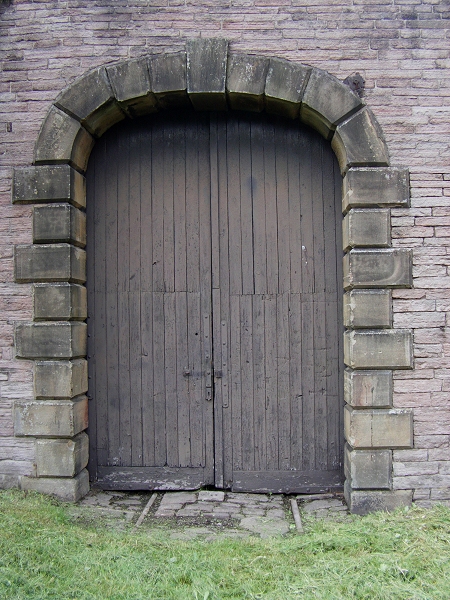
Left: The south side entrance and end of Canal. Right: Building date 1832.
![]()
Left: This was the transfer dock with a single track from inside too and from the print works.
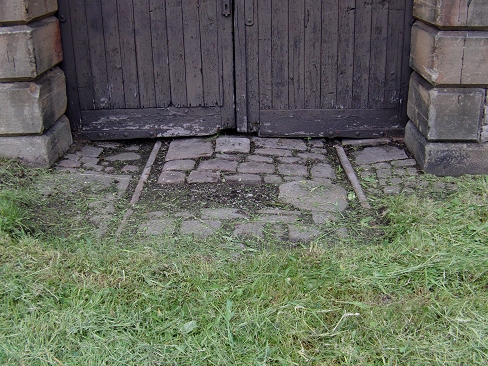
The Cotton Mill track remains in the east side doorway of the Canal Wharf building. (5th June 2014)
![]()
![]()
The north end of the Canal Wharf building.
![]()
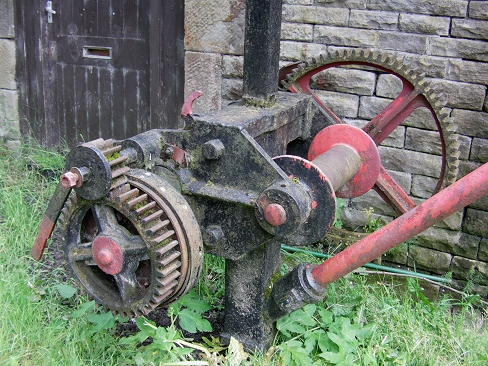
Left: The Crane is still in place. Right: The gearing (5th June 2014).
![]()
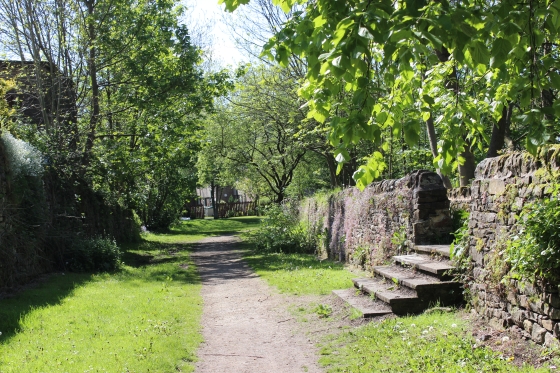
The east side of the Wharf building, towards the Incline.
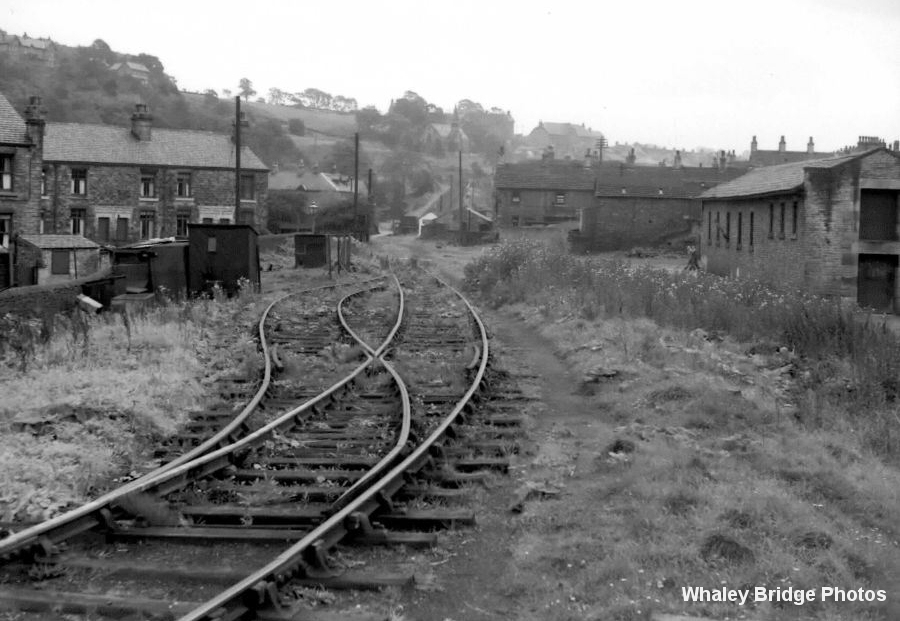
Close to the same spot as the photo above. Showing the sad run-down appearance of the site. This is now a nice picnic area. To the right the
main in-coming track from the incline ran up to the basin, with a back spur into the lower doorway of the transfer shed, to the right.
Looks like that has been long gone when this photo was taken.

Left: Where the single track came off the incline. There was also a spur off the main line going left into Goyt Works. Right: The way is locked where the line came in from the bottom of the incline and over
the iron bridge over the river Goyt.
The railway terminal for the Wharf. The track ran directly to the other end of the building by the Canal Basin.
While there wasn't a line into the right hand entrance, the track did go into this side of the building from the
other end. The main line ran straight ahead, while at this point the line split to the right with a siding up to
the canal wharf and which included a run-round loop. Also, at this point, the Print Work's track cut across
the main line from the far left hand entrance.

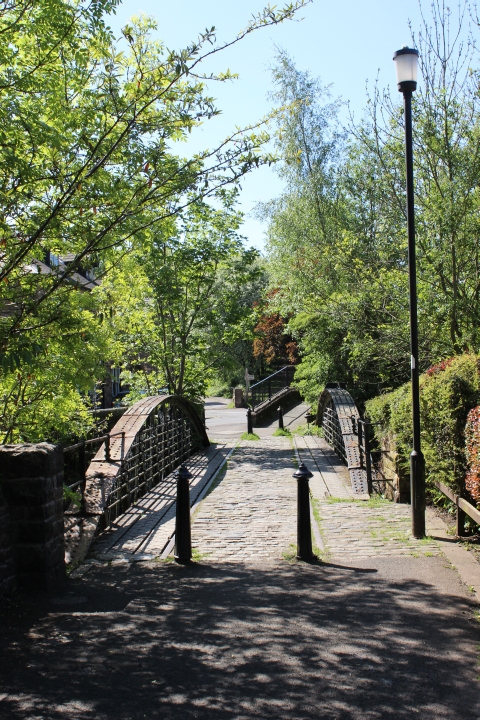
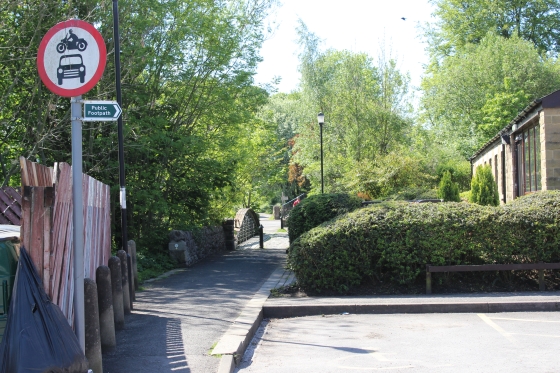
The iron bridge over the river Goyt with the rails still in place. Left: Towards the Canal Wharf. Right: Towards the base of Whaley Bridge Incline.
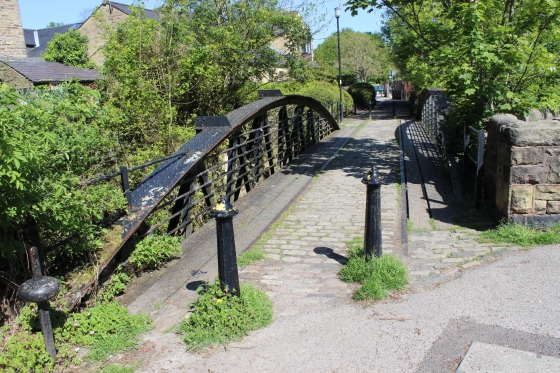
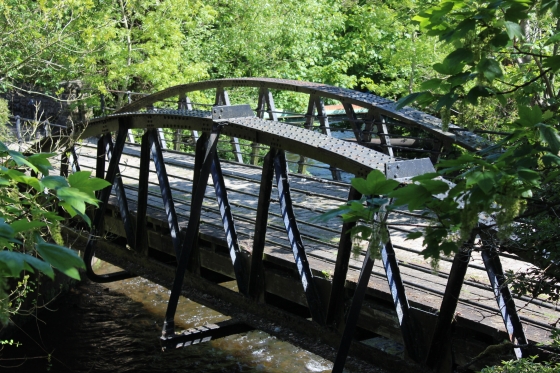
South end of the bridge, looking towards Canal Basin.
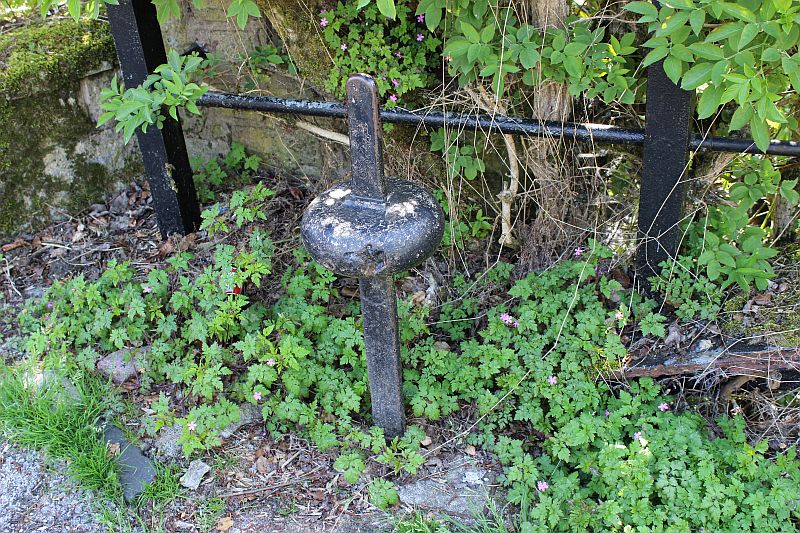
Left: Appears to be the handle of a point lever! (See photo above left). It was probably the lever for the
points where the single line from the basin doubled for the incline and hidden behind the right-hand
bridge arch. (See bottom left photo comments).
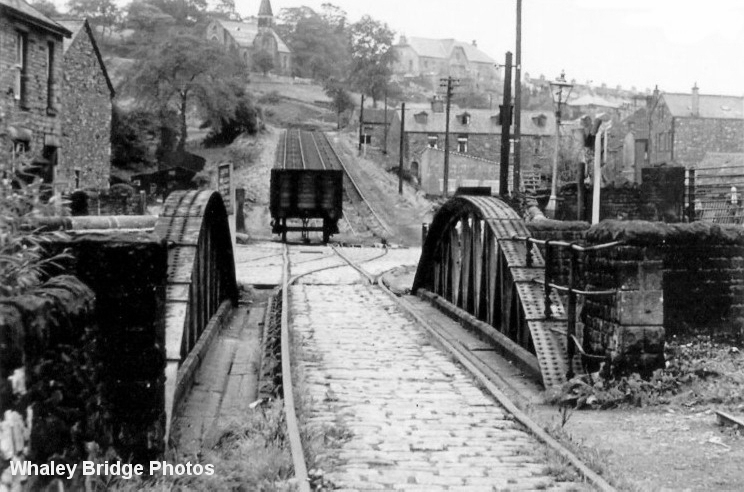
Left: Looking up the incline from the Iron Bridge from almost the same spot as in the photo above left. You can see the points that led into the Cotton Mill going off to the left in front of the wagon. The wagon would
have ben pulled too and from the mill by Horse(s). Did the wagon come down the incline "Wrong Road" or did it have to be shunted across the other opposite line! As the incline was operated by a capstan it would
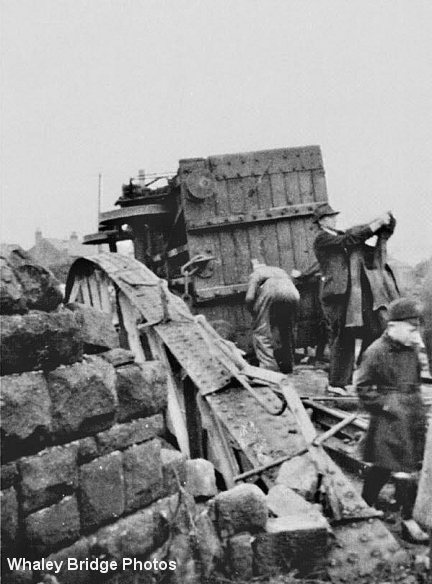
would normally only be operateable in one direction but was tis incline worked both ways? Right: Incident at the iron bridge in the 30's.
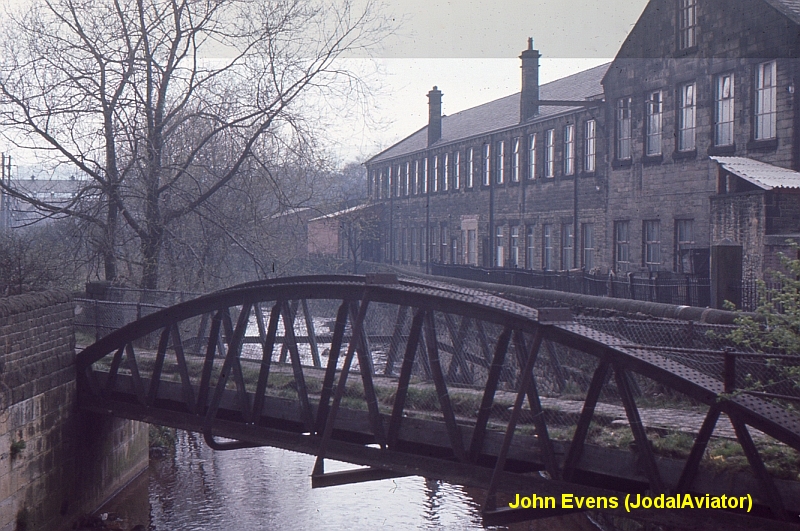
The bridge in 1960 by John Evens. On the right is the Goyt Cotton Mill (See below).
Goyt Mill Site (1865-1976)
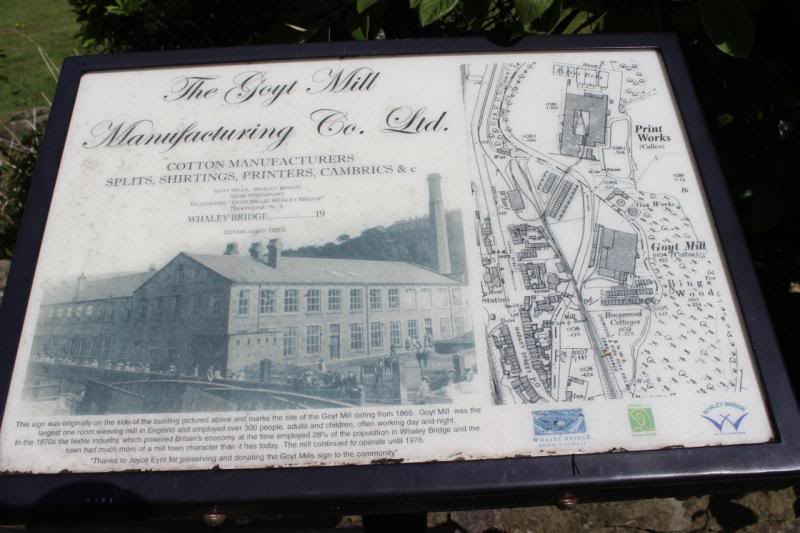
The Goyt Cotton Mill. Note the Iron Bridge in the foreground and the Wharf track layout, on the right.
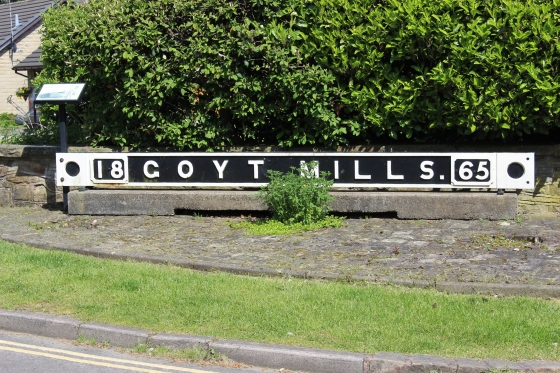
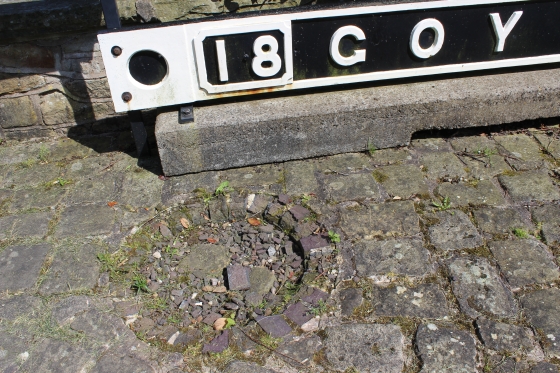
Goyt Mills Nameplate.
The Goyt Cotton Mill. Note the Iron Bridge in the foreground and the Wharf track layout, on the right.
Left: Goyt Mills Nameplate.
==================================================================
(Update 5th June 2014)
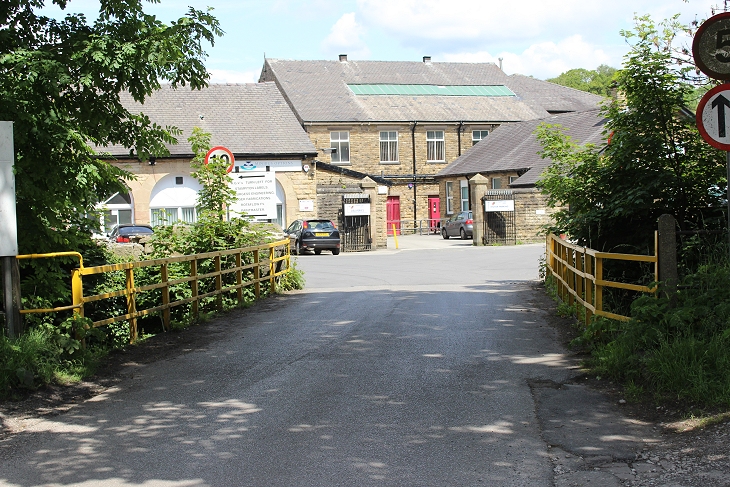
The Cotton Mill branch came out of the left hand door of the Wharf building, crossed the incline running line then down Bingswood Avenue, where it went over an iron bridge into the mill.
The iron bridge has bee replaced with a more modern design. However, many of the Mill buildmgs are still in pace and used by various commercial dealers.
The track bed came down Bingswood Avenue from the bottom of the incline. The Iron Bridge has been replaced by a ore modern one.
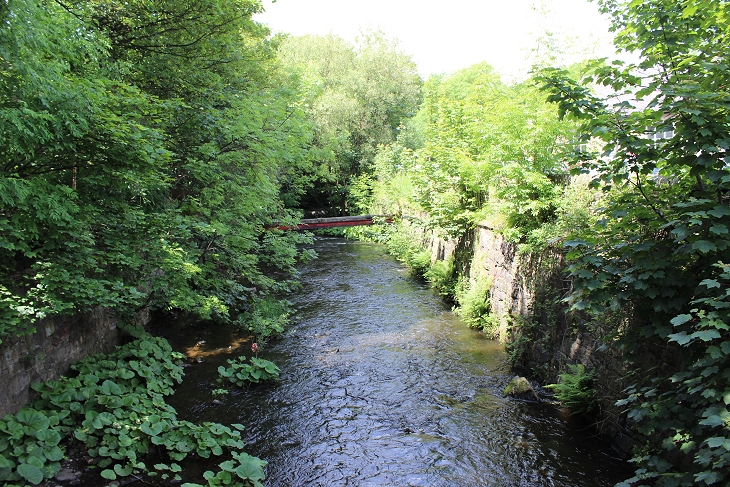
The view up river from the bridge.
![]()
The front of the mill where the track would have spread out to service the various departments.
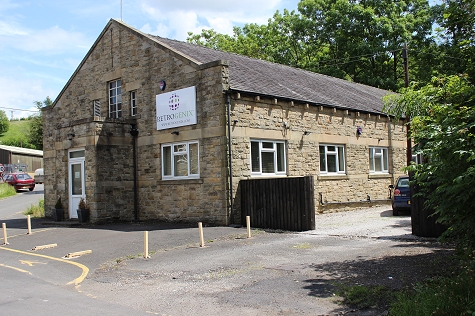
This may have been the administration building. It is very nicely preserved.

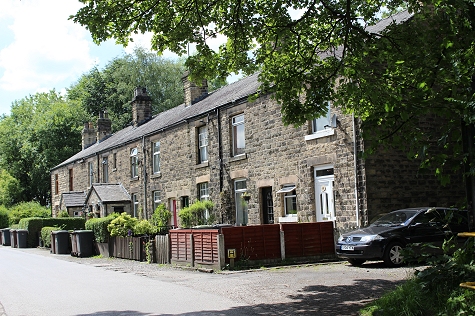
Left: The bridge where the branch ran towards the incline. Right: Ex mill worker's houses, where the mill branch ran past.
==================================================================
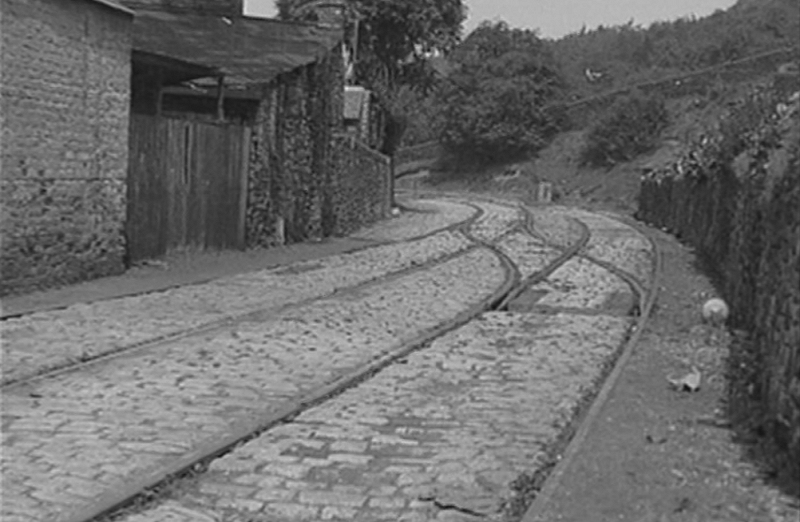
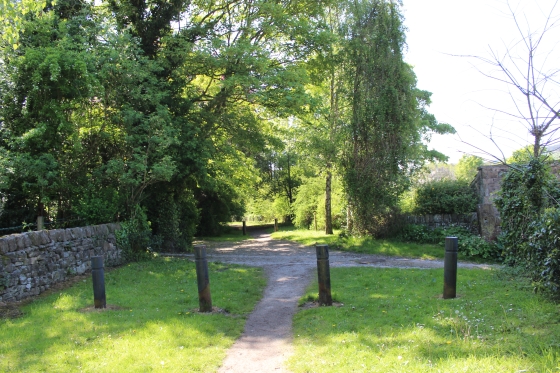
Whaley Bridge was the shortest incline on the C&HPR but quite steep. It was worked by Horses using a Capstan.

Start of the Whaley Bridge Incline.
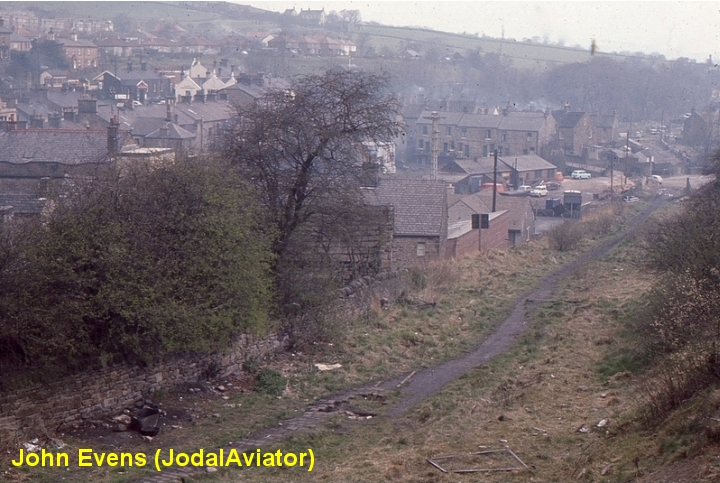
The Incline by John Evens 1966.
Both. Start of the Whaley Bridge Incline.
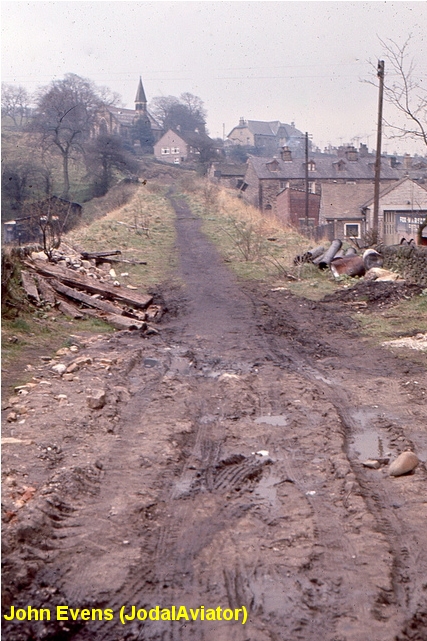
From a little way up the incline, towards the bottom.
Going up the incline. Left: A house on the north side of the track bed. Right: Approaching the summit. N.B. Stone Guide.
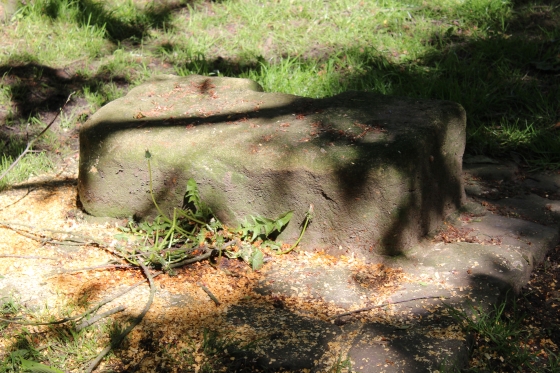
Stones from the guides for the wire. Left: South side of the stone: Right: North side of the stone.
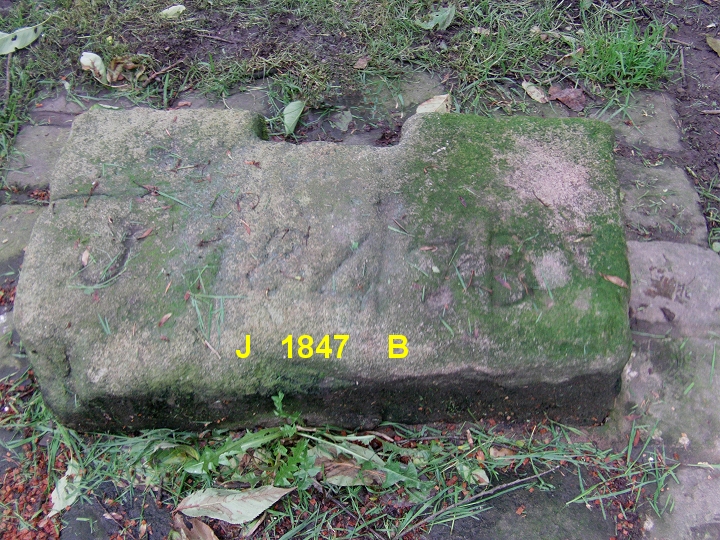
Taken on the 5th of June. The lighting was different and the letters on the stone looked more clear.
Plenty of detail at the summit. You can see the stone guides on the left. Also, note the trap point on the right, to stop runaway wagon
getting down the incline. However, as a runaway back in the 30's proved, there was nothing to stop the wagons when the cable or
hanging-on chain broke once on the incline.
 .
.
Left: Looking down the incline from the summit. Stone guide on the left. Right: Widened area at the summit for the Capstan and Horses to turn.
The stone base for the Capstan.
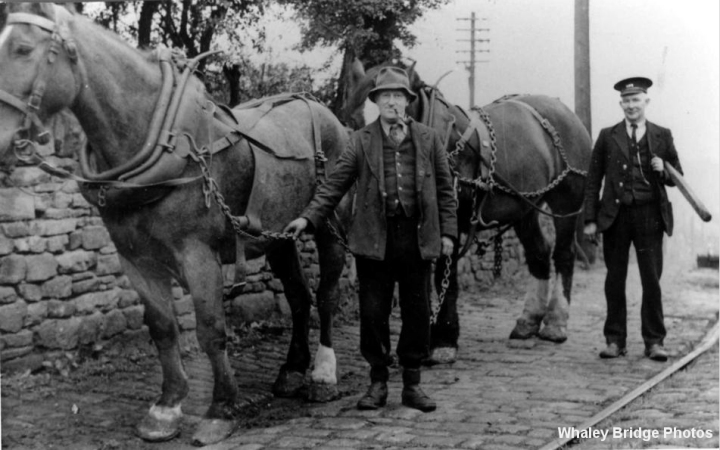
Horses waiting to transfer wagons from the Summit to Shallcross Goods.
Left: Looking down the incline from the summit. Right: From the summit southwards towards the Ex level crossing on Old Road.
Left: From the south side of the Ex level Crossing towards the incline summit. Right: Across the Ex level crossing where the track bed ran southwards then below the mainline railway bridge
towards Shallcross.
The level at the top of the incline. You can just make out the Capstan spindle just up ahead. (Author Unknown). This is where the wagons were attached
and detached too/from the chain. See photo above, left.
=============================================
Update 5th June 2014
Left: From the track bed looking back towards the Ex level crossing and to Whaley Bridge Top. Right: Looking south towards the blocked in railway bridge.
On the 5th June 2014 I had a walk down to the end of the track bed where it went under the
mainline. It is completely blocked off at this end. The railway bridge is still there but filled
up in the arch.
====================================================
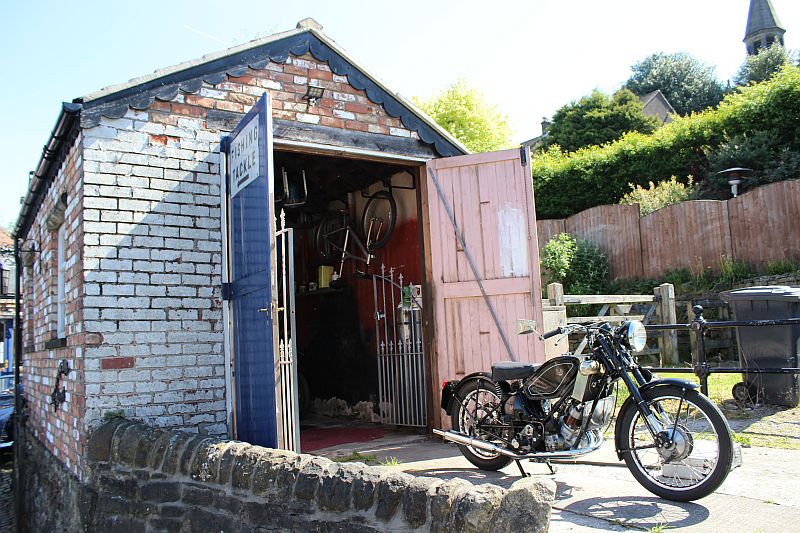
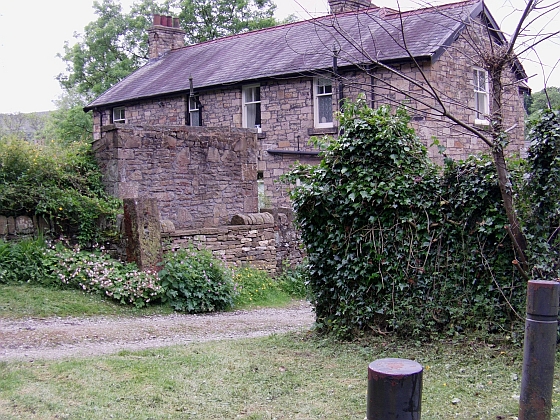
This may have been a railway building by the level crossing. Now a Fishing Tackle shop.
The Fishing Takle building as seen from the track bed by Old Road Ex Level Crossing.
=============================================================
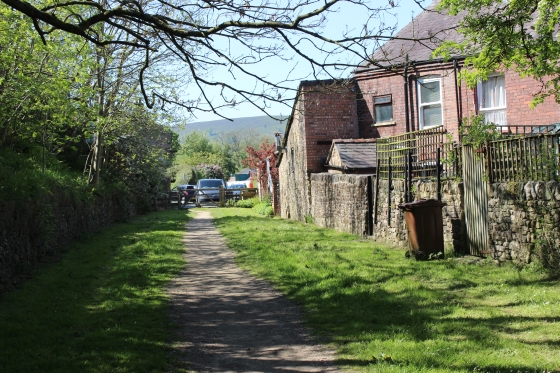
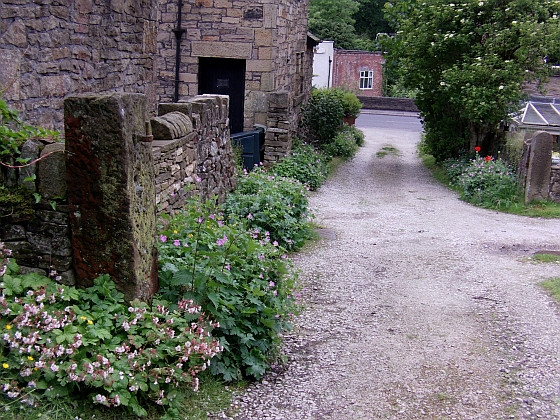
From the Ex Crossing you can't follow on the track bed but have to walk to the next entrance along the main road. From the Ex Crossing, walk down Old Road to road junction.
You pass the rear entrance of the Shepherds Arms. Turn left at the road junction by the White Heart and turn sharp left into Buxton Road. Continue past the other side of the
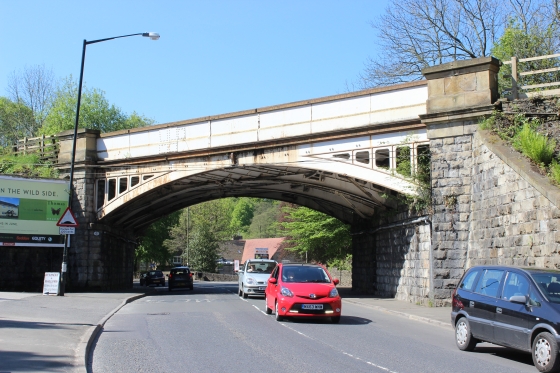
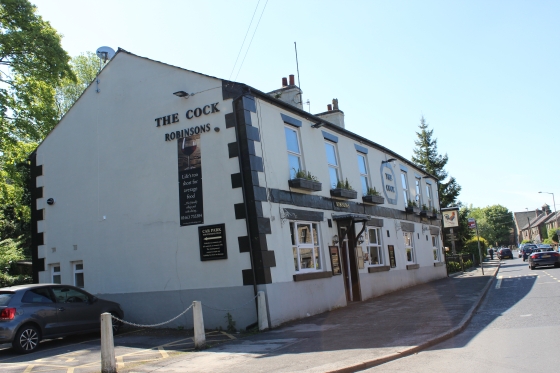
Shepherds Arms pub and then below the main line railway bridge. Continue southwards and you pass a school, on the right hand side of the road and past the Cock Inn, which is
on your left after the traffic lights. Immediately past the end of the Inn gardens there is a narrow lane, on your left. Take this lane to get back onto the track bed once again.
Left: Walking down Buxton Road and under the Buxton Branch railway bridge. The next bridge off to the left is the filled-in one over the C&HPR
Right: Further along Buxton Road and past the school and then the Cock Inn. The lane back onto the track bed is just up ahead and on the left.
Left: Back on the track bed from the narrow lane. On your left is the back-filled blockage that stops you getting straight through from Old Road. See below.
Right: The way south is clear as you head towards Shallcross.
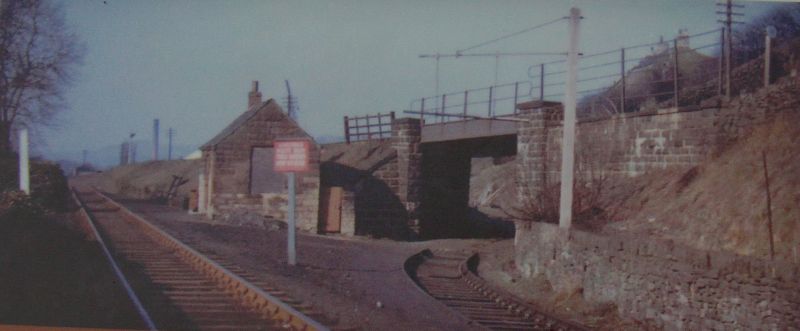
The scene that you would have seen at the point of blockage. The C&HPR runs below the LMR Buxton line towards the incline summit, while on the
left the spur to the Midland Station goods yard goes off to the left. This is the spur used after the Incline was closed to reach Shallcross goods
until that closed in the 60's. N.B. The loading gauge seen on the right.
26th May 2017. I had stopped at his spot a number of times during my visits but this was the first time that I noticed that the Loading gauge, as seen in the photo above is still in place. The arm is a little bit
bent but complete. It is well hidden by the 65 years since closure. It was an interesting find.

On The straight towards the tunnel.
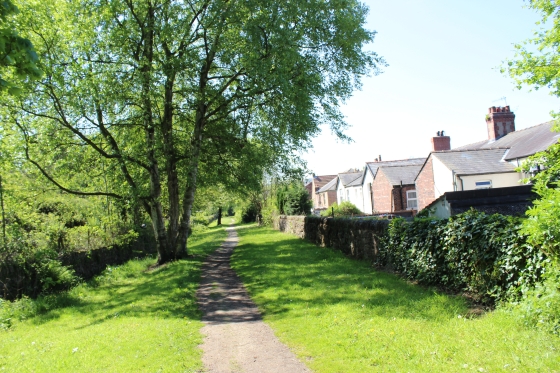
Left: Almost coutryside like as the track bed heads south past the rear of the houses on the busy Buxton Road, down to the right.
Right: An Ex level crossing footpath that came off Buxton Road.
Towards Shallcross Sidings. (6th June 2016).
Left: The level crossing lane from Buxton Road. Right: The heavy stone gate posts still stand. (5th June 2014)
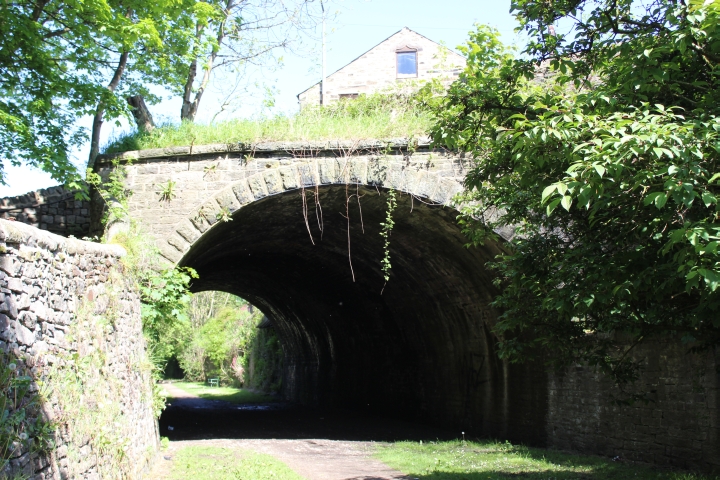
Chapel Road tunnel (North Portal). Looking south.
Left: Looking towards Chapel Road Tunnel.
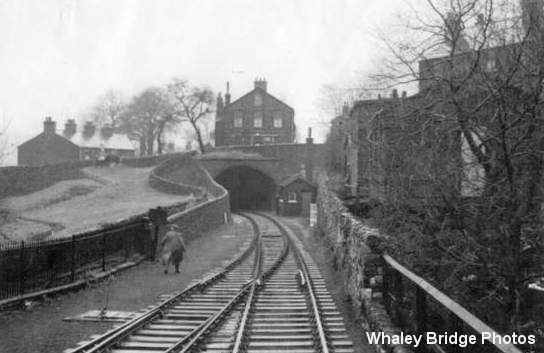
Looking back towardsWhaley Bridge Summit. This is the section of track bed that you can't get through between
Old Road and have to walk around to get back onto the track bed again.
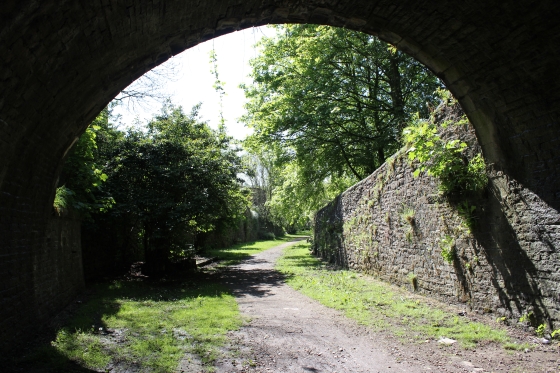
Left: Chapel RoadTunnel (North Portal) Looking towards Shallcross. Right: Looking out from the North Portal. Towards Whaley Bridge.
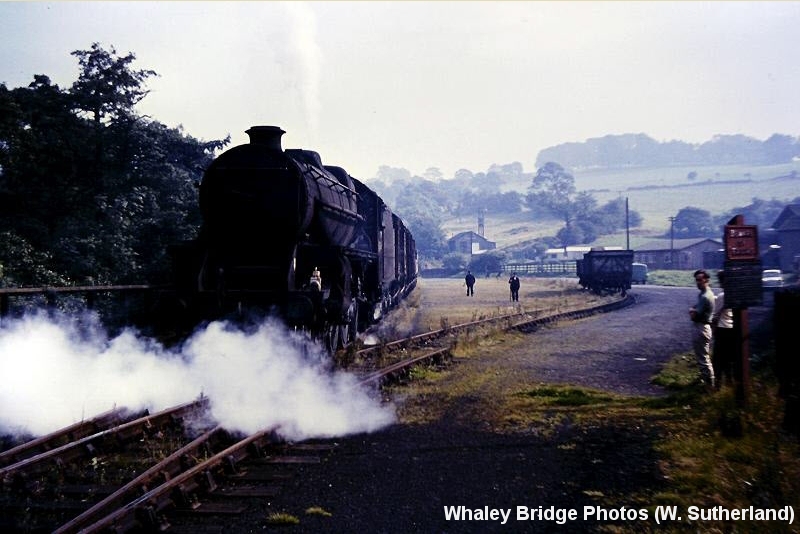
South portal, looking towards Whaley Bridge. It appears that I was standing at the spot where the loco is, below.
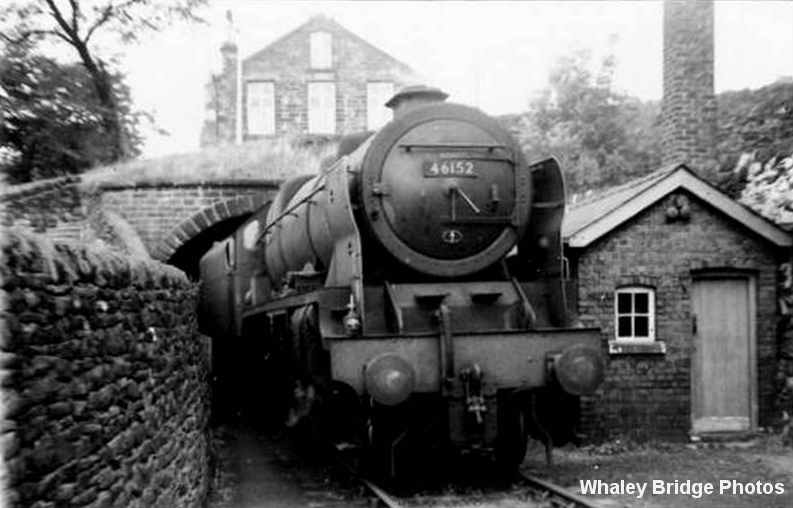
46152 exits the tunnel fo the goods yard. While the Whaley Bridge Incline had been long closed, Shallcross Goods Yard was still linked to
the main line at Whaley Bridge Station.
/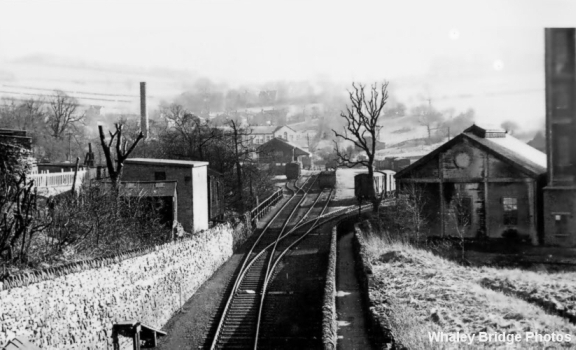
Left: Shallcross Goods Yard. From Chapel Road, above the tunnel. You can see the incline climbing at the far end of the straight track. Right: You see the narrow lane leading in from Chapel Road.
Taken from the track bed from just ahead of in the photo, above left, showing how the yard spread out from the points.
======================================
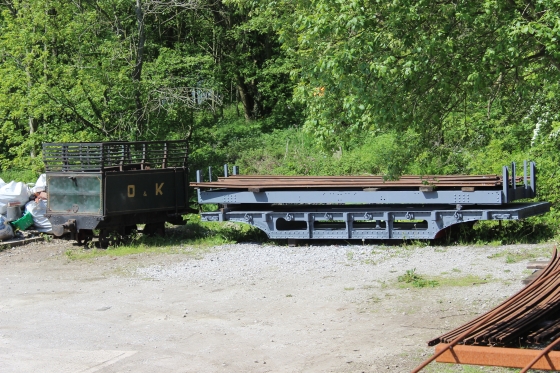
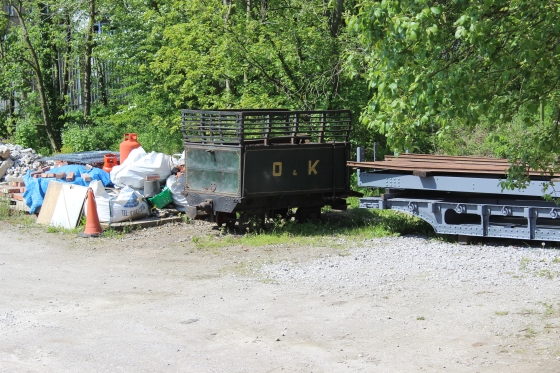
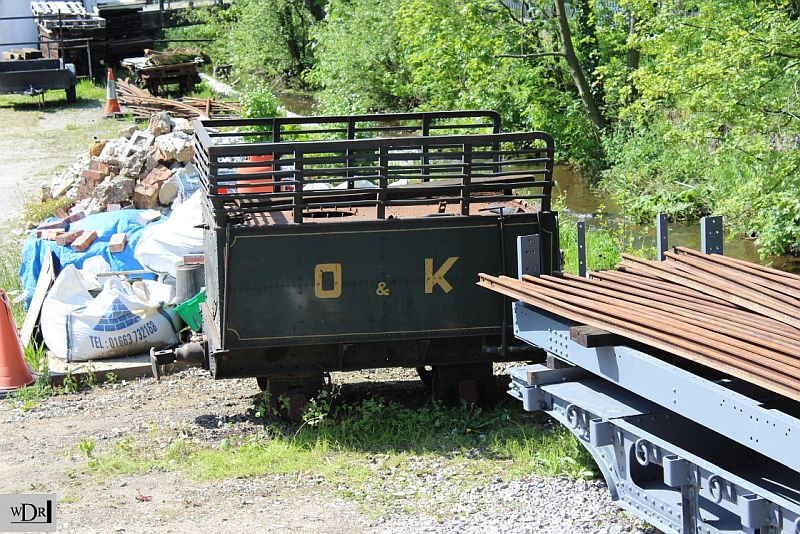
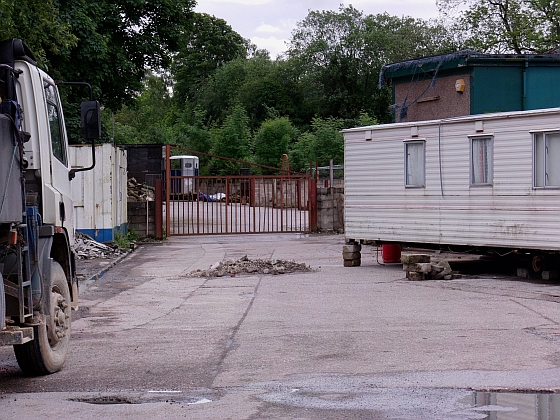
Just beyond the tunnel and before approaching Shallcross I was surprised to find these railway items down
below in an old work site. Anyone know what the wagons and rails are intended for?
============================================
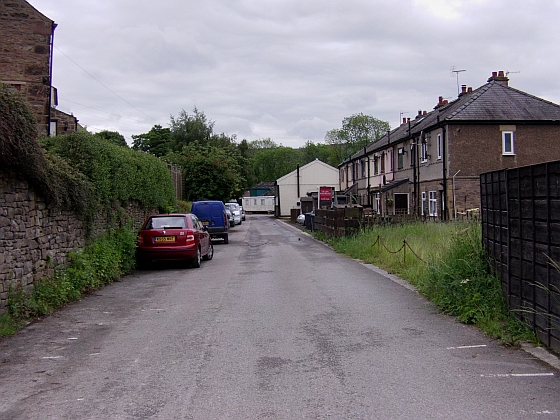
Left: The line curves back towards Whaley Bridge. The steps lead from the narrow lane. Right: The line opens up into what was Shallcross Goods Yard.The goods shed would have been to the left.
Note the iron railways which are seen above right. This is almost the same spot where the shunter,
above, is walking back towards the points and the tunnel, which is behind the camera.
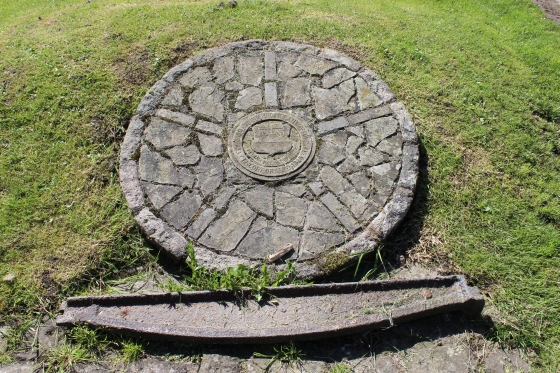
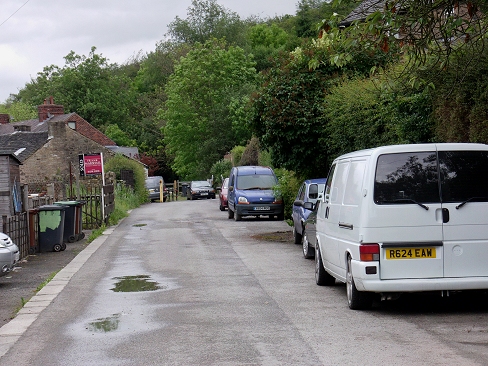
Left: A C&HPR dedication stone. Right: The remains of Shallcross Goods Yard. Behind is the entrance to the works site where the O&K railway tender, wagons and rails were seen.
The Goods yard site, looking back towards the tunnel, has almost been built over by the new housing estate and the making of New Road. Left. Back towards Whaley Bridge. The O&K tender is seen over the far end
of the concrete railway wall. Right: From the same spot, wooden posts stop road vehicles getting onto the Shallcross incline.
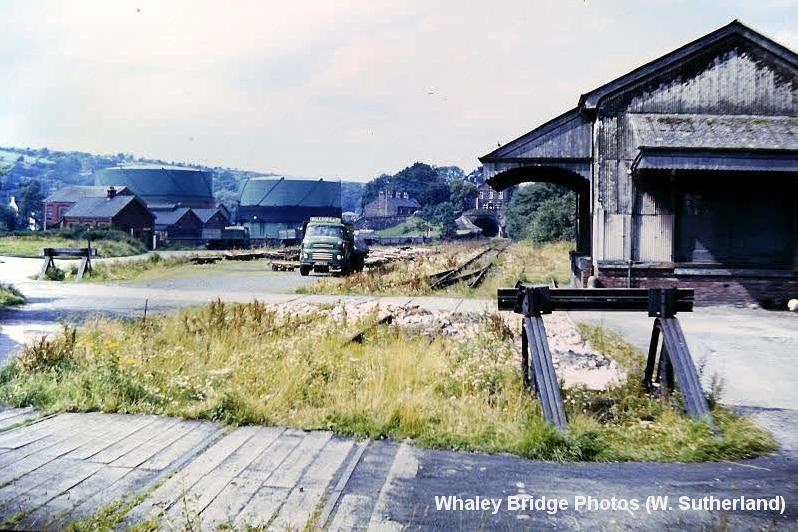
Looking back from the base of the incline. The yard is at the end of it's days but this gives you the scale of the area. On the left, behind the stop-block
is what was probably the Shunter's mess room. The stop blocks, far left, themselves, as placed, makes me think that this was the actual running
running line too and from the incline.
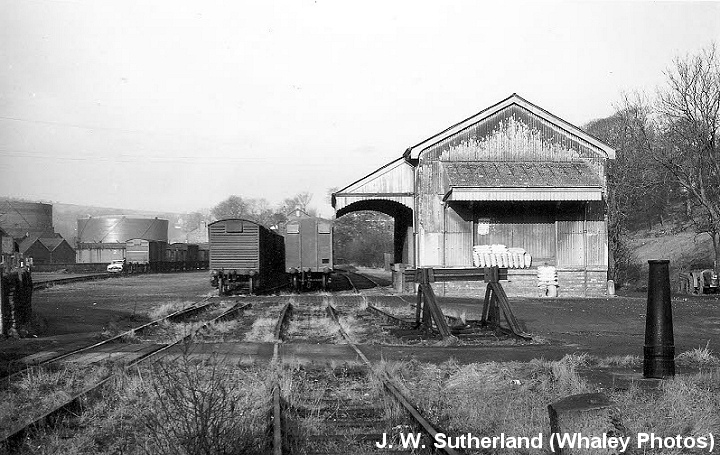
The Goods yard from the bottom of the incline in the 1950's. Gas Tanks on the left. The Crain spindle is seen on the right.
.jpg)
Excellent photo showing the layout of Shallcross Goods Yard and the base of the incline including the coal gas plant in 1931. The
above photo shows the conversion to gas tank storage as against the coke extraction. The complete Crain is seen just right of center.
(NCHS Media Archive).
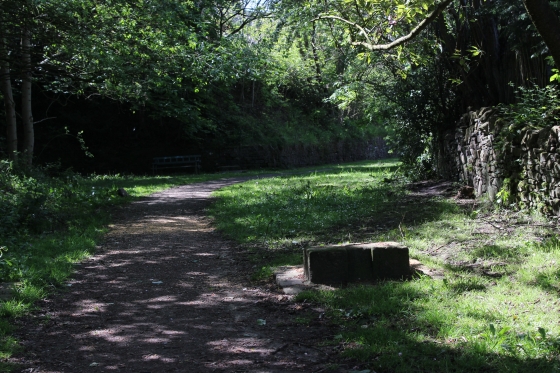
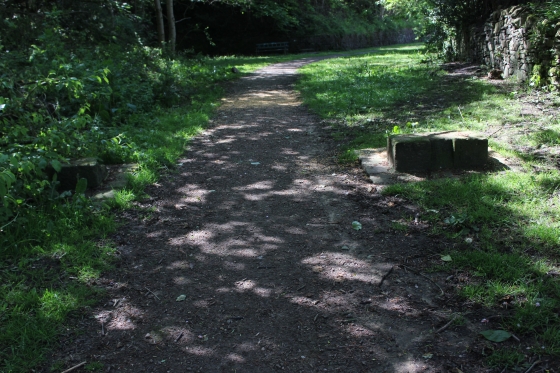
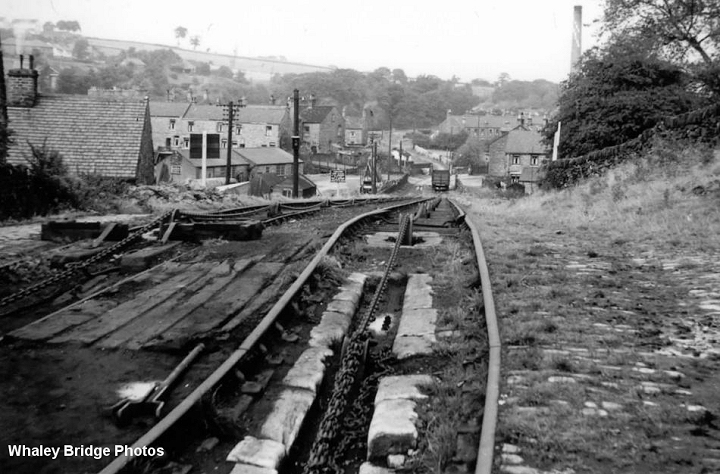
The start of the longish, 1 in 10 incline at 817 yards. This was the site of the wheel pit and where wagons were attached and detached to the pulling wire. (See below).
The bottom of the incline in 2010 before it was cleared as a footpath.
=====================================================
(2) SHALLCROSS INCLINE TO BUNSELL INCLINE
My Thanks To......
Whaley Bridge Photos for their kind permission to use old photos of the Whaley Bridge to Shallcross section. These and many old photos of Whaley Bridge can be viewd at:
http://www.subn.org/whaleybridgephotos/trains.php
John Evens (JodrelAviator) for the use of his excellent colour photos of the C&HPR in the 60'd & 70's. John's Fickr photos are at: https://www.flickr.com/photos/the-evanses
John Neave for his kind permission to use a number of his 1960's photographs when the railway was still in operation. Check out John's ''Going Loco'', which includes a C&HPR history. At....
http://goingloco.neave.com/
Mark Norton for the use of 1940's photos by his late father Dennis J. D. Norton. http://www.photobydjnorton.com/CHPR_Menu.html#Links
To the son of Geoff Plum for the use of his late father's phots. Plumb Loco is at: Plumb Loco (By Geoff Plum) Photograhs
Reading: The Cromford & High Peak Railiway by John Marshall. Published by Martin Bairstow. Printed by The Amedeus Press 2011.
Other Railway Walks....
The Dundee & Newtyle Railway The first passenger railway in Scotland opened in 1831, which had three inclines operated by stationary steam engines. The main source of income was from
the numerous stone quarries in the area and local farming produce. Passenger numbers were always sparse.
The inclines were abandoned in the mid 1800's by new deviations that allowed through locomotive running.
The line also included the Dundee Law (Hill) tunnel built at 300ft above the City. Both the north & south portals of the tunnel are buried below modern housing schemes.
Passenger services ended in 1955 and the line closed completely in the mid 60's.
Unlike the C&HPR none of the Engine houses were preserved. The inclines can still be followed but sections have been back-filled or ploughed over
This web site tries to cover as much as possible.
Boddam To Ellon Branchline Built by the GNSR in the latter part of the 20th century. The passenger service only lasted until 1934 but goods remained up to total closure in 1949.
The GNSR built a large Golf course and Hotel at Cruden Bay, with an electric tramway between the station and hotel. All that remains today is the Golf course.
Other web pages....
Kittybrewster Memories. Kittybrewster Loco Depot, Aberdeen.
Tivoli Memories The Tivoli Theatre, Aberdeen.
Hosted by www.theatreorgans.com